Pick the right photo
Front-facing, well lit, full silhouette. The figurine inherits the pose in the photo — choose one that stands well.
A figurine needs more than a nice front view: it has to hold up from every angle and stand on its own. This page walks through the full photo-to-figurine workflow — from choosing the right shot to preparing the mesh for a resin or FDM print — using a real generated model, not a mockup.
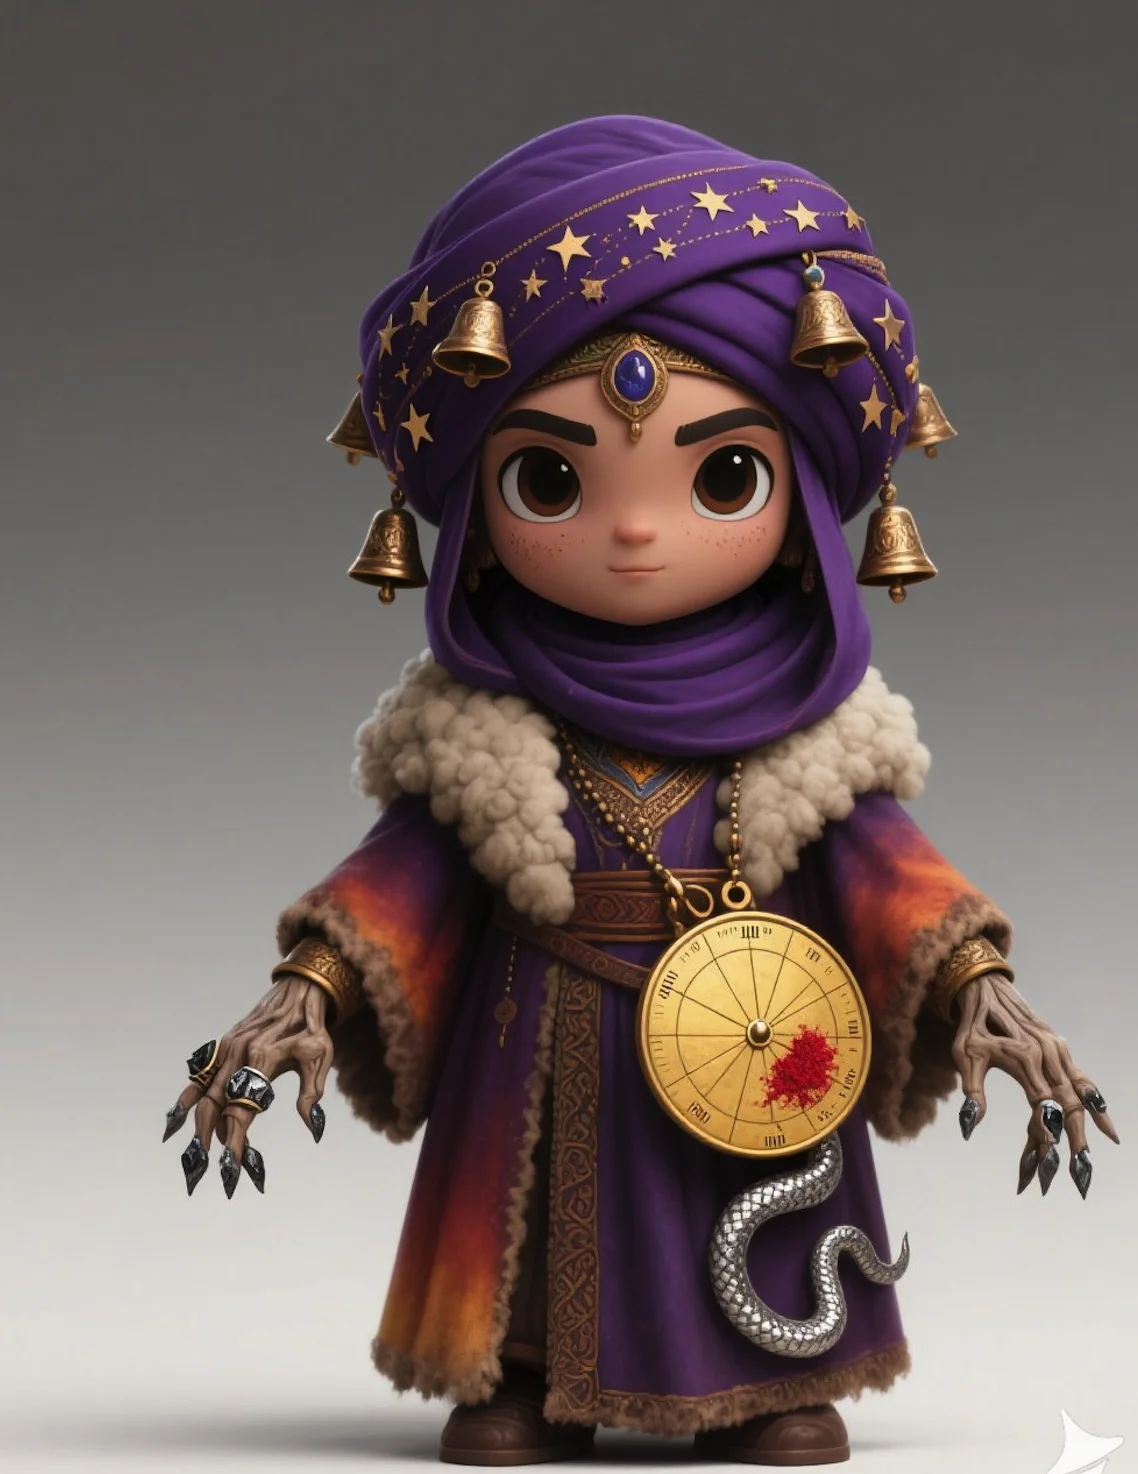
Front-facing, well lit, full silhouette. The figurine inherits the pose in the photo — choose one that stands well.
The AI builds the full 360° figurine, inferring the back from the visible side. Check it in the preview before downloading.
Look for thin parts (weapons, tails, dangling items) that need thickening or supports at your target print size.
Download the GLB, repair open edges in Blender or your slicer, convert to STL, then scale to your printer.
You get a GLB with color textures — ideal for a painted-look resin print preview. For single-material printing, convert to STL and let your slicer handle the rest.
Almost. The mesh is print-oriented but exports with open edges, so run it through mesh repair (Blender 3D-Print toolbox or your slicer’s auto-repair) and scale it first. The example on this page lists the parts to watch.
The mesh itself is scale-free. At small sizes (under ~80 mm), thin details like the bells on our example become fragile — scale up or thicken them.
Yes — stylized character art often converts even better than photos because the silhouette and materials are cleaner. The example on this page is a stylized character render.
Models generated under a paid plan can be used commercially, provided you have the rights to the input image. See our Terms of Service.