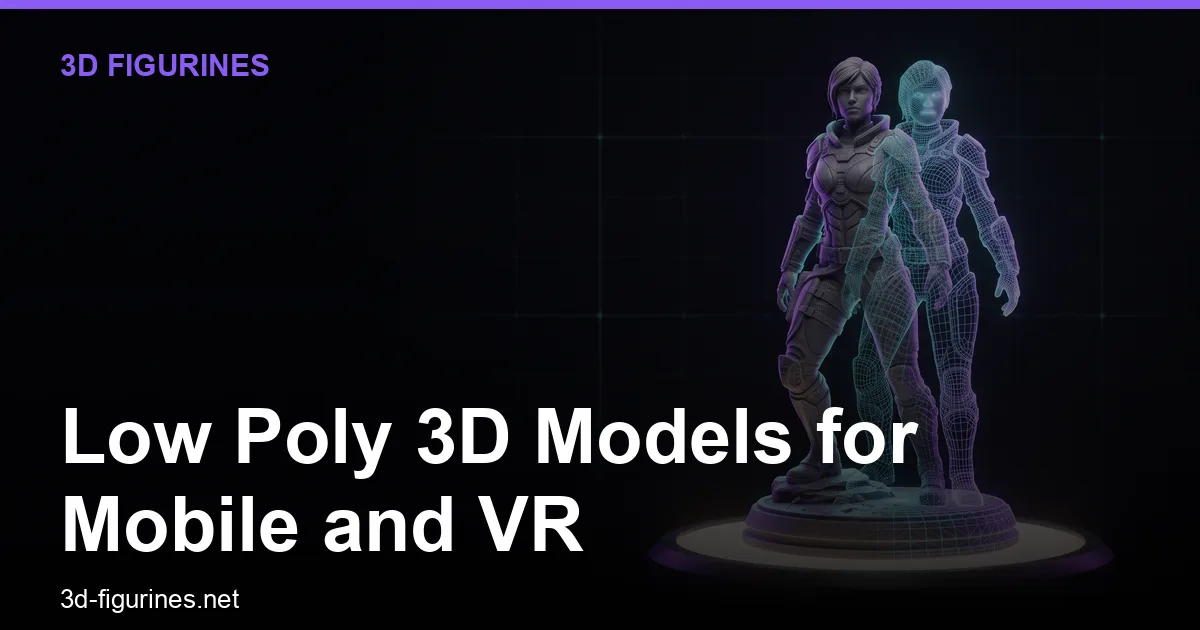
Low poly 3D models for mobile work best when you keep each character under 5,000 triangles, use one 1024×1024 texture atlas, and bake lighting into vertex colors or a single texture. That combination runs at 60 FPS on mid-range phones and standalone VR headsets without overheating or draining the battery.
This guide is for hobbyists and gift-buyers who want to create custom figurines from photos, and for anyone learning to 3D print them. You'll learn a practical low poly workflow, how to optimize 3D models for mobile and VR, and how to export files that work in game engines, Roblox, and slicers.
Why low poly matters for mobile and VR
Mobile GPUs and standalone VR headsets have tight budgets. A scene with 100,000 triangles can drop frames on a phone, while the same scene at 10,000 triangles stays smooth. Low poly models also load faster, use less memory, and are easier to texture.
For figurines, low poly isn't just a style—it's a practical choice. A simplified mesh prints faster, uses less filament, and is less likely to fail. If you're creating a custom 3D figurine from a photo, starting with a low poly base can save hours of cleanup.
The low poly workflow: from photo to optimized model
Here's a step-by-step workflow that takes you from a photo to a mobile-ready or printable low poly model.
1. Start with a clean source image
Use a well-lit photo with a plain background. Avoid harsh shadows and busy patterns. If you're shooting a selfie, follow the portrait photography tips for 3D to get a usable result. For best results, use multiple angles—see multi-view 3D generation best practices.
2. Generate a base model
Tools like 3D Figurines (built on Tencent Hunyuan3D) turn a photo into a 3D model in GLB format. This model is usually higher poly than needed for mobile. You'll decimate it next.
3. Decimate the mesh
In Blender, add a Decimate modifier (Collapse mode) and set the ratio to 0.1–0.3. This reduces triangle count by 70–90% while keeping the silhouette. For a humanoid figurine, aim for 3,000–8,000 triangles. Check the result in solid view—if the face loses definition, raise the ratio slightly.
4. Retopologize if needed
For clean animation or VR, you may need manual retopology. Use Blender's Poly Build tool or a remesh modifier (Voxel mode, voxel size 0.01–0.02) to create even quads. This is more work but gives better deformation.
5. UV unwrap and bake textures
Low poly models often use a single texture atlas. Smart UV Project in Blender with an island margin of 0.02 works well. Bake high-poly details (like wrinkles) into a normal map or a diffuse texture. Keep the final texture at 1024×1024 or 2048×2048 for mobile.
6. Optimize for mobile and VR
- Triangle count: Under 5,000 for characters, under 20,000 for entire scenes.
- Draw calls: Merge objects where possible. Use a single material per object.
- Texture size: 1024×1024 is safe; 2048×2048 for hero assets.
- LODs: Create 2–3 levels of detail. Blender's Decimate modifier can generate them quickly.
- Shaders: Use mobile-friendly shaders (Unlit or Mobile/PBR). Avoid complex node setups.
7. Export for your target platform
- Mobile games (Unity/Unreal): Export as FBX or GLB. For Unity, use the import 3D model to Unity guide.
- VR (Quest, Pico): GLB or glTF 2.0 is ideal. Keep textures embedded.
- Roblox: Export as FBX, then import into Roblox Studio. Roblox has a 10,000 triangle limit per mesh, so decimate accordingly. See 3D models for Roblox for more.
- 3D printing: Export as STL. For slicers, STL is universal. If you need color, use OBJ or 3MF. Check best 3D export formats for slicers.
Optimizing for mobile VR: specific settings
Mobile VR (like Meta Quest) runs on a mobile chip. You have a budget of about 1–2 million triangles per frame at 72–90 Hz, but you should aim much lower for comfort.
- Per-eye resolution: 1832×1920 per eye on Quest 2. Keep textures at 1024×1024 to avoid memory pressure.
- Stereo rendering: Use single-pass instanced rendering if your engine supports it.
- Occlusion culling: Bake occlusion data to avoid drawing hidden objects.
- Frame rate: Target 72 Hz minimum. Use 90 Hz if possible.
For VR-ready 3D models, test on the actual device. A model that runs at 60 FPS on a phone may struggle in VR because of the higher resolution and stereo rendering.
Low poly for 3D printing: what changes
When you 3D print a low poly model, the rules shift. You don't need UVs or LODs, but you do need a watertight mesh.
- Wall thickness: Minimum 1.2 mm for resin, 1.6 mm for FDM.
- Scale: A typical figurine is 75–150 mm tall. Scale your model in the slicer.
- Supports: Low poly models often need fewer supports because of flat surfaces. Use tree supports in Cura or PrusaSlicer.
- Materials: PLA for FDM, standard resin for SLA. For detailed figurines, resin gives sharper edges.
If your model has holes or non-manifold edges, repair it in Blender (Select Non-Manifold, then Fill) or use Meshmixer. For more, see the 3D printing figurines guide.
Common pitfalls and how to fix them
- Too many triangles: Use Decimate. Check with Blender's statistics overlay.
- Texture seams: Fix with fix texture seams and UV issues.
- Bad generation: If the AI model looks wrong, try fix bad 3D model generations.
- Non-manifold geometry: Use Blender's 3D Print Toolbox add-on to check.
Tools and file formats
- GLB: Best for mobile and VR. Includes geometry, materials, and textures in one file. See GLB file format guide.
- STL: For 3D printing. No color or texture.
- OBJ: Good for printing with color (MTL file).
- FBX: For game engines and Roblox.
Blender is free and handles all these formats. For editing, see Blender editing 3D figurines.
From low poly to printable figurine
You can use low poly models as a base for printable figurines. Start with a photo, generate a model with 3D Figurines, decimate it in Blender, then export as STL. This workflow is faster than starting from scratch and gives you a stylized look that prints well.
For gift ideas, low poly figurines are popular for birthday gifts and anniversary keepsakes. They're also great for desk decor.
Final checklist
- Triangle count under 5,000 for mobile characters.
- Texture size 1024×1024.
- Single material per object.
- LODs for complex scenes.
- Test on target device.
- For printing: watertight mesh, wall thickness ≥1.2 mm, export STL.
Ready to try? Turn your photo into a printable 3D figurine with 3D Figurines. Upload a selfie, generate a model, and export it as GLB or STL—then optimize it for mobile, VR, or your 3D printer.