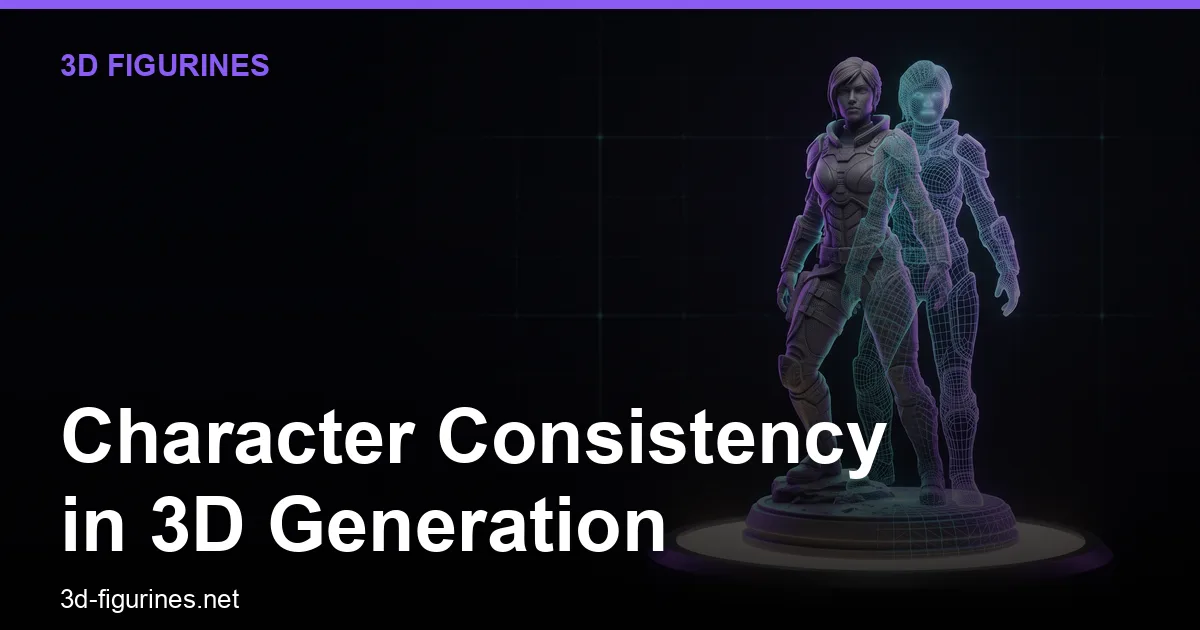
To keep characters consistent in 3D generation, start from a sharp, front-lit, neutral-pose photo, generate one base model, then reuse that exact source image and seed for every variation. Small changes in lighting, angle, or expression cause the AI to invent new geometry. Below is the workflow I use with 3D Figurines to get repeatable faces, hands, and poses that survive the trip to a 3D printer.
Why consistency breaks in AI 3D generation
Most image-to-3D tools, including the Tencent Hunyuan3D pipeline behind 3D Figurines, infer depth and volume from a single 2D image. If the input changes, the output changes. A tilt of the head, a different lens, or a shadow across the nose can shift the entire mesh. That is why you see a character look right in one render and wrong in the next.
Consistency is not a slider you turn on. It is a set of constraints you apply before and after generation.
The consistency stack: photo, seed, mesh, print
Think of it as four layers. Each one can break the chain.
- Photo layer – the source image you feed the generator.
- Generation layer – the model settings and the seed that produced your base mesh.
- Mesh layer – the geometry you keep or repair in a 3D editor.
- Print layer – the STL you slice and the material you print.
If you change the photo, you must re-check the mesh. If you change the mesh, you must re-check the print. Skipping a layer is how you get a figurine that looks like a different person.
Step 1: Build a reference photo set that the AI can read
You do not need a studio. You need predictability.
- One face, one light. Use a single soft light source at eye level. Avoid overhead lights that cast shadows under the brow.
- Neutral expression. A slight smile is fine, but a wide grin changes cheek volume and mouth depth.
- Same distance. Fill the frame with the head and shoulders. Do not zoom with your feet between shots.
- Plain background. A white or gray wall helps the generator separate hair from background.
- No filters. Beauty filters smooth skin and remove the exact micro-detail the AI uses to build a likeness.
For a full-body figurine, take a second photo of the body in the same light. Keep the pose simple: arms slightly away from the torso, feet apart. This makes it easier to fix a bad 3D model generation later.
If you are working from an old family photo, scan at 600 DPI or higher and correct the color cast before uploading. The guide on old photos to 3D figurines covers the restoration steps.
Step 2: Lock the seed and reuse the same source
When you generate a base model in 3D Figurines, the system uses your photo to produce a GLB file. That GLB is your anchor.
- Save the exact photo file. Rename it something like
base_front_lit.jpgand keep it in a folder with the GLB. - Do not crop or resize between runs. Even a 10% crop changes the framing and the inferred proportions.
- Generate once, then duplicate. If you need a second pose, duplicate the project rather than uploading a new photo.
If you must use a different photo, expect to repair the mesh. That is normal. The goal is to minimize the number of repairs.
Step 3: Fix character pose in 3D before you export
The generator gives you a static mesh. Posing it is a separate job.
Quick pose fixes in a mesh editor
- Symmetry check. Import the GLB into Blender or Meshmixer. Use a mirror modifier to see if the left and right sides match. Asymmetry in the shoulders or hips usually means the source photo was tilted.
- Arm separation. If the arms are fused to the torso, use a soft selection brush to pull them apart. A 2–3 mm gap is enough for most printers.
- Foot placement. Flatten the soles. A figurine that rocks on a table looks unfinished.
For a deeper walkthrough, see Blender editing for 3D figurines.
When to re-generate instead of repair
If the pose is wrong at the skeleton level—for example, the character is leaning 15 degrees—re-generating from a corrected photo is faster than sculpting. Correct the photo by rotating it in an image editor, then run the generation again.
Step 4: Repair 3D character face issues
Faces are where consistency lives or dies. The most common problems are:
- Melted eyes. The generator averages the eye sockets. Fix by adding small spheres for the pupils and using a boolean union.
- Flat nose. Add a slight bridge with a displacement brush. Keep it under 1 mm or the print looks bulbous.
- Merged lips. Separate the upper and lower lip with a crease. A 0.3 mm crease reads well at 1:12 scale.
- Hair blobs. Hair often generates as a single mass. Use a trim brush to cut strands, then smooth.
If the face is unrecognizable, the photo is the problem. Go back to Step 1. A sharp, front-lit photo with visible eyebrows and a defined jawline will produce a better face than any amount of post-processing.
For portrait-specific tips, read portrait photography tips for 3D.
Step 5: Solve 3D hand issues
Hands are the second most common failure point. The AI sees fingers as a texture, not as five separate cylinders.
- Count the fingers. If you see four or six, do not try to sculpt them. Re-generate with a photo where the hands are clearly separated from the body and from each other.
- Fuse or hide. For a figurine holding a prop, you can merge the fingers into a mitten shape and let the prop cover the detail. This is a legitimate fix, not a cheat.
- Thicken for printing. Fingers thinner than 1.2 mm will break. Use a solidify modifier to add 0.5 mm of thickness.
- Check the thumb. The thumb is often attached at the wrong angle. Rotate it 10–15 degrees toward the palm.
If you are printing at 1:12 scale, a hand that is 8 mm wide can hold a 2 mm rod. Anything smaller needs a thicker design.
Step 6: Maintain character likeness across multiple figurines
If you are making a set—say, a family portrait or a sports team—consistency across figures matters as much as consistency within one.
- Use the same light and lens for every person. A phone on a tripod at 50 mm equivalent works well.
- Match the scale. Decide on a final height, for example 100 mm, and scale every GLB to that height before exporting.
- Match the base. Use the same base thickness and diameter. A 3 mm thick, 40 mm diameter base is a good default.
- Match the material. Print all figures in the same resin or filament. Different materials reflect light differently and make the set look mismatched.
For group projects, see family portrait figurines and sports memorabilia figurines.
Step 7: Export the right format for your slicer
3D Figurines exports GLB. For printing, convert to STL.
- GLB keeps color and material data. Use it for previews and for editing in Blender.
- STL is geometry only. It is the safest format for slicers like Cura, PrusaSlicer, and Chitubox.
- OBJ is useful if you need to carry UV maps or textures into another tool.
When you convert, check the scale. A GLB exported at 1 unit = 1 meter will appear 1000 mm tall in the slicer. Scale it to millimeters before slicing.
For a format comparison, read best 3D export formats for slicers.
Step 8: Slice and print without losing detail
A consistent model can still fail on the printer. These settings protect the face and hands.
- Layer height: 0.05 mm for resin, 0.12 mm for FDM.
- Supports: Use light supports on the chin, nose, and fingers. Heavy supports leave marks.
- Orientation: Tilt the figure back 15–20 degrees so the face is not the first layer.
- Material: Standard gray resin for detail, PLA+ for durability. For a gift, matte white resin takes paint well.
- Post-processing: Wash 3 minutes in IPA, cure 2 minutes per side. Do not over-cure or the resin yellows.
If you are new to printing, start with the 3D printing figurines guide.
A repeatable checklist for consistent AI 3D characters
- Shoot one front-lit, neutral photo per character.
- Generate one base GLB and save the source file.
- Duplicate the project for variations. Do not change the photo.
- Repair pose, face, and hands in that order.
- Scale all figures to the same height and base size.
- Export STL at millimeter scale.
- Slice with 0.05 mm layers and light supports.
- Print all figures in the same material.
Following this order keeps the character consistent from the first photo to the final print. It also saves time, because you fix problems at the layer where they are cheapest to fix.
When to start over
Start over if the face is unrecognizable after two repair passes, if the hands have the wrong number of fingers, or if the pose is off by more than 10 degrees. Re-generating from a better photo takes 10 minutes. Sculpting a bad mesh can take an hour.
For more generation tips, see 10 AI prompt tips.
Try it with your own photo
3D Figurines turns a single photo into a printable 3D figurine model using Tencent Hunyuan3D. Upload a front-lit, neutral-pose photo, generate a GLB, convert to STL, and print. Start with one character, lock the process, then scale to a set. Create your first figurine and see how consistent your results can be.