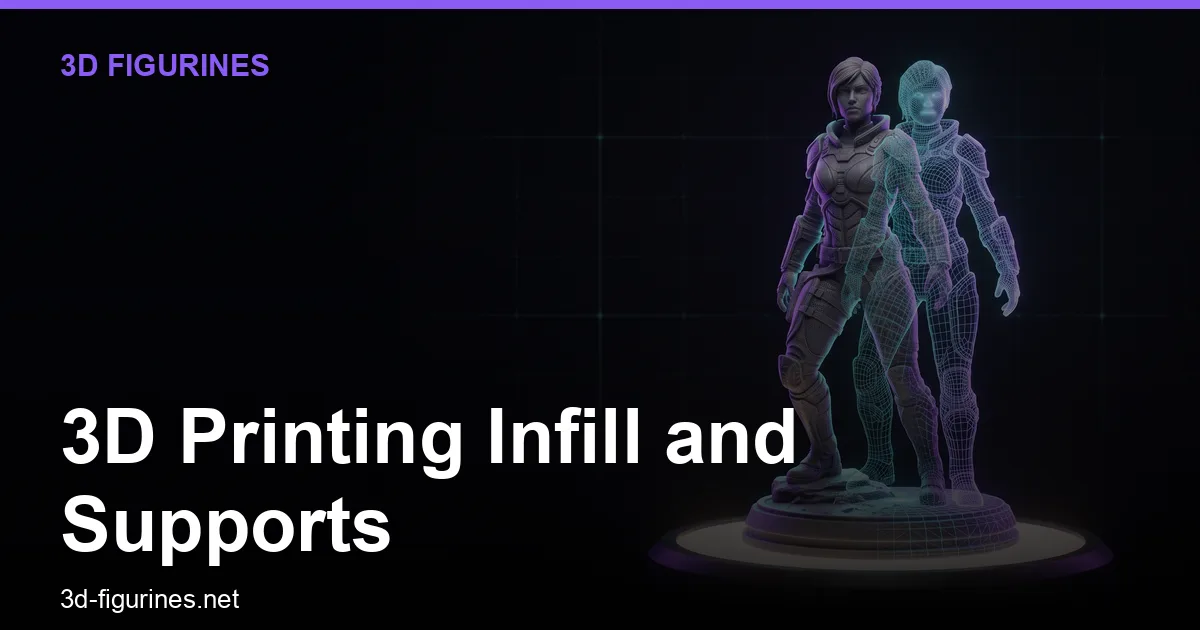
Infill 3D printing is the internal lattice that gives your figurine strength without wasting filament; for most custom figurines, 10–15% gyroid infill is the sweet spot. Supports hold up overhangs like arms and hats, and choosing between tree supports, brim, or raft depends on your model's geometry and bed adhesion. This guide gives you exact settings and workflows to print clean, durable figurines from your photo-to-3D models.
Why Infill and Supports Matter for Figurines
A figurine is not a phone case. It has thin limbs, a detailed face, and often a dynamic pose. The wrong infill can make it feel hollow and fragile; the wrong supports can scar the surface or fail mid-print. Since 3D Figurines exports GLB and supports STL conversion, you can bring your model into any slicer and apply the settings below. If you're new to the workflow, start with our 3D printing figurines guide and then come back for the tuning details.
Infill 3D Printing: The Basics
Infill is the internal structure printed inside your model. It affects strength, weight, print time, and filament use. For figurines, you rarely need more than 20% infill because the outer walls carry most of the load. In fact, increasing wall count (perimeters) often does more for strength than raising infill percentage.
How Infill Percentage Translates to Figurine Performance
- 5–10%: Display-only pieces, large bases, or models with thick walls. Feels light but can dent if squeezed.
- 10–15%: The sweet spot for most figurines. Strong enough for handling, light enough to stand on a shelf.
- 20–30%: Small, thin parts (fingers, weapon tips) or figurines that will be handled often.
- 40%+: Rarely needed; adds weight and print time without much benefit for decorative pieces.
Infill Patterns: Which One for Figurines?
Not all patterns are equal. Here's how the common ones behave:
- Gyroid: Best all-rounder. Strong in all directions, prints fast, and doesn't create internal vibration. Use 10–15% for most figurines.
- Grid: Simple and fast, but weaker on diagonal forces. Fine for bases and blocky shapes.
- Triangles: Strong but can cause nozzle drag on small perimeters. Use for mechanical parts, not faces.
- Lines: Fastest, weakest. Only for prototypes or hidden internal areas.
- Cubic: Good for cubes and boxes, not organic shapes.
For a figurine with a flowing cape or curved limbs, gyroid at 12% is a reliable default. If you're printing a miniature for a board game, see our board game miniatures guide for scale-specific advice.
3D Printer Infill Settings You Can Copy
In Cura or PrusaSlicer, set:
- Infill density: 12%
- Infill pattern: Gyroid
- Infill line width: 0.4 mm (match nozzle)
- Infill overlap: 15%
- Infill before walls: Off (better surface quality)
In Bambu Studio, the same values work; just enable "Infill combination" if you want faster prints on large bases.
Supports: When and How to Use Them
Supports are temporary structures that hold up overhangs. For figurines, overhangs appear under arms, chins, hats, and dynamic poses. You have two main choices: traditional linear supports and tree supports.
Tree Supports 3D Printing: The Cleaner Option for Figurines
Tree supports branch out from the build plate and touch the model only where needed. They use less material, leave fewer marks, and are easier to remove. In Cura, enable "Support Structure: Tree" and set:
- Support placement: Touching buildplate
- Support overhang angle: 50–55°
- Branch angle: 40–50°
- Branch distance: 1–2 mm
- Support interface: On (for easy removal)
Tree supports are ideal for figurines with delicate limbs because they don't wrap around the entire model. If your model has a lot of small overhangs, tree supports can save you 20–30% filament compared to linear supports.
Linear Supports: When They Still Make Sense
Linear supports are denser and more stable for large flat overhangs, like a cape or a wide hat brim. Use them when tree supports fail or when the overhang is more than 60°. Set support density to 10–15% and use a support interface layer (0.2 mm gap) to make removal easier.
Support Removal Tips
- Use flush cutters, not pliers, to avoid snapping thin parts.
- Soak in warm water if you used PVA or Breakaway support material.
- Sand with 400-grit then 800-grit wet sandpaper for smooth surfaces.
- For resin prints, remove supports before curing.
If you're fixing a model that already has support scars, our fix bad 3D model generations guide covers mesh repair.
Brim vs Raft 3D Printing: Bed Adhesion for Figurines
A brim is a flat extension of the first layer around the base; a raft is a thick platform under the entire model. For figurines, the choice depends on bed adhesion and base size.
Brim
- Use when: The base is small (under 40 mm) or tall and narrow. A brim adds surface area without affecting the bottom finish much.
- Settings: Brim width 5–8 mm, brim gap 0.1–0.2 mm.
- Removal: Peel off with fingers or a deburring tool; light sanding may be needed.
Raft
- Use when: The bed is warped, the material warps easily (ABS, ASA), or the model has a tiny contact point (like a single foot).
- Settings: Raft extra margin 5 mm, raft air gap 0.2–0.3 mm.
- Removal: Raft leaves a rough bottom; you'll need to sand or cut it off. Not ideal for figurines with detailed bases.
For most figurines printed in PLA on a modern printer, a brim is enough. Skip the raft unless you're dealing with adhesion problems. If you're printing a figurine with a large flat base, no brim may be needed at all.
Material Choices and Their Impact on Infill and Supports
- PLA: Easy, low warp, good for detailed figurines. Use 10–15% gyroid infill, tree supports, and a brim for small bases.
- PETG: Stronger, slightly more stringy. Increase retraction and use 15% infill; supports may fuse more, so use a support interface.
- ABS/ASA: Warp-prone. Use a raft and enclosure; infill 20% for strength.
- Resin: No infill; supports are mandatory and removed before curing. Use light supports for small figurines.
For more on filaments, see our 3D printing filament guide.
Step-by-Step: From Photo to Printed Figurine
- Generate your model: Upload a photo to 3D Figurines. The AI creates a 3D model; export as GLB.
- Convert to STL: Use the built-in STL conversion or a tool like Blender. For slicer compatibility, see best 3D export formats for slicers.
- Prep in Blender (optional): Fix mesh errors, scale to desired height (e.g., 100 mm), and add a base if needed. Our Blender editing guide walks through this.
- Slice: Import STL into your slicer. Apply settings: 0.12 mm layer height for detail, 12% gyroid infill, tree supports at 50° overhang, brim if base is small.
- Print: Use a 0.4 mm nozzle, 200°C for PLA, 60°C bed. Print speed 50 mm/s for outer walls, 80 mm/s for infill.
- Post-process: Remove supports, sand, prime, and paint. For painting tips, see our anime character guide.
Troubleshooting Common Infill and Support Issues
- Weak figurine: Increase wall count to 3–4 perimeters before raising infill.
- Supports fused to model: Increase support Z distance to 0.2–0.3 mm.
- Infill showing through walls: Reduce infill overlap to 10% or increase wall count.
- Print knocked over: Use a brim and slow down first layer to 20 mm/s.
- Stringing between supports: Enable retraction and lower print temperature by 5°C. See our 3D printer stringing guide.
Final Thoughts
Infill and supports are the behind-the-scenes settings that make or break a figurine. Start with 12% gyroid infill, tree supports at 50°, and a brim for small bases. Adjust based on your model's geometry and material. With a clean STL from 3D Figurines, you're ready to slice and print a custom figurine that looks great and holds up.
Ready to turn your photo into a printable figurine? Try 3D Figurines today and export your model in GLB or STL for printing.